Double Exposures
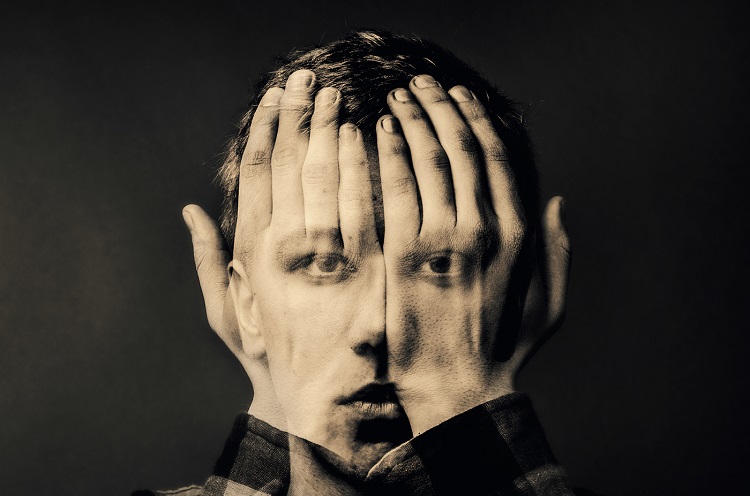
Double exposures are an old film technique that oftentimes was simply a mistake. When two images get recorded on a single piece of film, it is called a double exposure. Often it ruined the picture, but creative photographers realized that it could be used to blend two photos in the same image.
Double Exposure in Photoshop
Modern cameras usually don't have the option of making double exposures (some very advanced cameras do), but the technique can be done in Photoshop using the SCREEN blending mode. You Access it in the LAYERS palette.
If you take a photo with a black background (that's very important) and put it into a separate layer you are ready to use the blending modes.
You use the screen mode to make everything black, transparent. To do this you select the BLENDING MODE to SCREEN.
The image will become TRANSPARENT in the black areas and OPAQUE in the light areas.
Using the BRIGHTNESS/CONTRAST tool in the IMAGE menu can make some parts more opaque and others more transparent.
The Project
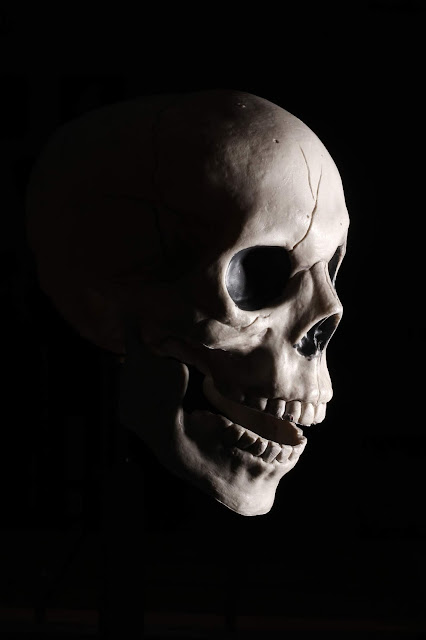
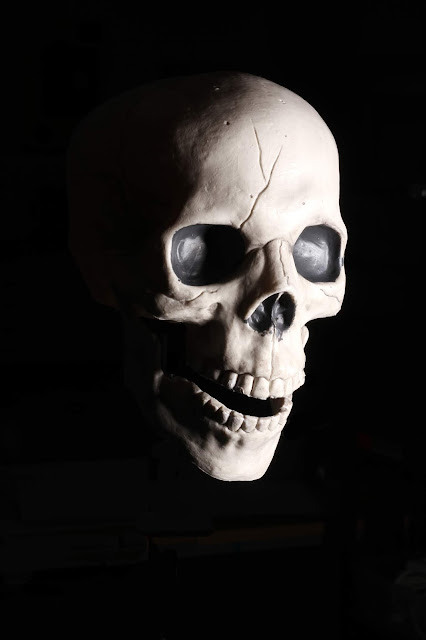
You are going to use the skull images below and the SCREEN blending tool to create double exposures that are thrilling and chilling. Decide how you want to incorporate the skull. Use the blending mode. Make something interesting.
If you simply put a skull on a face, you will only get a 70% [C] on this project. I need to see some interesting ideas. You don't need to use all these skulls, but your picture should be very different from everyone else's
 |
| CLICK TO ENLARGE AND THEN DOWNLOAD |
 |
| CLICK TO ENLARGE AND THEN DOWNLOAD |
|
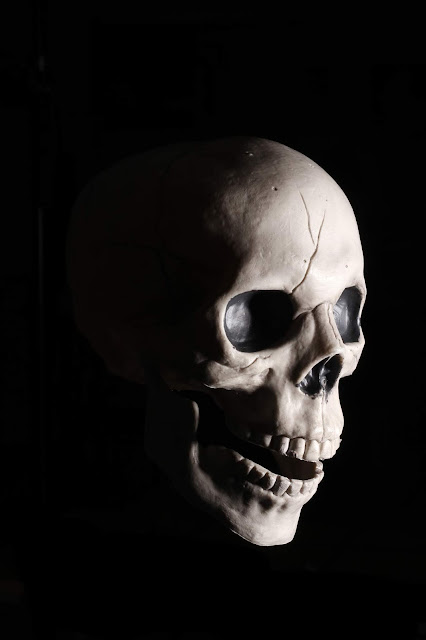 |
| CLICK TO ENLARGE AND THEN DOWNLOAD |
|
 |
| CLICK TO ENLARGE AND THEN DOWNLOAD |
|
 |
| CLICK TO ENLARGE AND THEN DOWNLOAD |
|
 |
| CLICK TO ENLARGE AND THEN DOWNLOAD |
|
 |
| CLICK TO ENLARGE AND THEN DOWNLOAD |
|