
Project 25: Cyanotypes
Cyanotypes are a fascinating alternative photographic process. We are going to learn about them and make some ourselves.
Part 1: Background
Watch this video, then click on the link below to see some examples of the process.
https://theartling.com/en/artzine/what-are-cyanotypes-brilliant-blue-print/
Part 2: Study Questions
Answer these following questions based on the links and video above.- Who is credited with the invention of the cyanotype process?
- What are the two main chemicals used in the cyanotype process?
- What color is a cyanotype print?
- What type of paper or material is commonly used for making cyanotype prints?
- True or False: Cyanotype is a contact printing process.
- What is the typical exposure time for a cyanotype print?
- True or False: Cyanotype prints are naturally resistant to fading over time.
- How can you intensify the blue color of a cyanotype print?
- True or False: The cyanotype process can be used to create prints on fabric.
- What are the key characteristics that make cyanotype prints visually distinctive?
Answer these in a word document and turn it in with any related material when you finish the project.
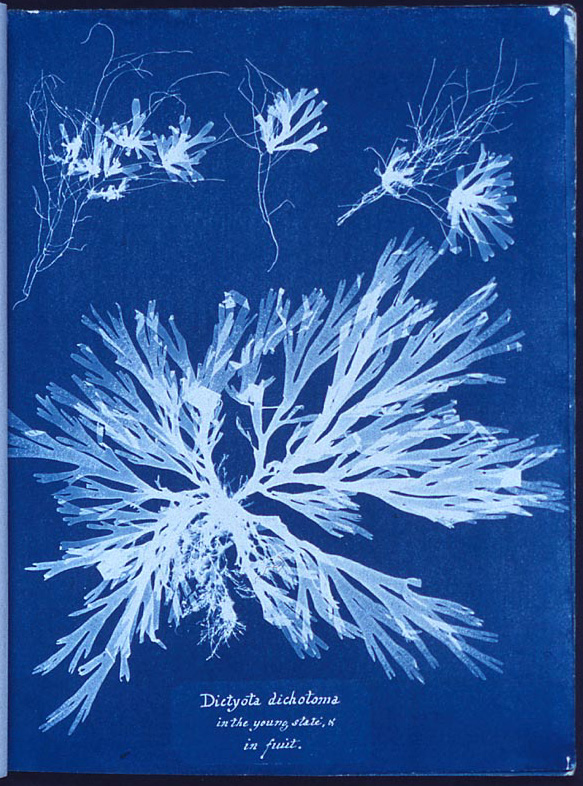
Part 3: Cyanotype Prints
As demonstrated in class, the cyanotype process can be broken down into 3 steps:A. Preparation
- Remove a cyanotype paper from the paper safe.
- In pencil, write your name on the back of the paper.
- At the cyanotype station, arrange the small toys and objects on top of the coated printing surface. Experiment with different arrangements and compositions to achieve an interesting composition.
- Place the contact frame or a piece of glass on top of the arranged objects and the coated surface. Ensure that everything is secured in place to prevent movement during exposure.
- Expose the arrangement to sunlight or an ultraviolet (UV) light source for approximately three minutes. The exposure time may vary depending on the intensity of the light source and the desired contrast of the print. The cyanotype solution will react to the light and start to change color.
- Turn the bent arm of the darkroom timers to 3 and flip the toggle switch on the right to begin the exposure. When time is up, the UV light will turn off and a busser will sound. Flip the toggle on the right to turn off the buzzer.
3. Development
- Remove Objects: After the exposure time, carefully remove the objects and the contact frame from the coated surface. The areas shielded by the objects will remain unaffected by light, while the rest of the surface will have been exposed to UV light.
- Rinse in Water: Remove the cyanotype paper from the contact frame. Go into the darkroom and rinse the coated surface in the running water in the tub labeled "A". The unexposed areas will turn a light blue color, while the exposed areas will remain white. Rinse for 2 minutes.
- Dipping: Remove the print using the tongs. Place the paper into the tray labeled "B." In just a few moments the light blue will turn into a very dark blue. Remove from this tray and place your print on the racks to dry. The racks are labeled "C.
You may make up to 4 cyanotype prints. Photograph your best one and turn that image in with the answers to the study questions above.