
Project 21: Reading the Light Meter
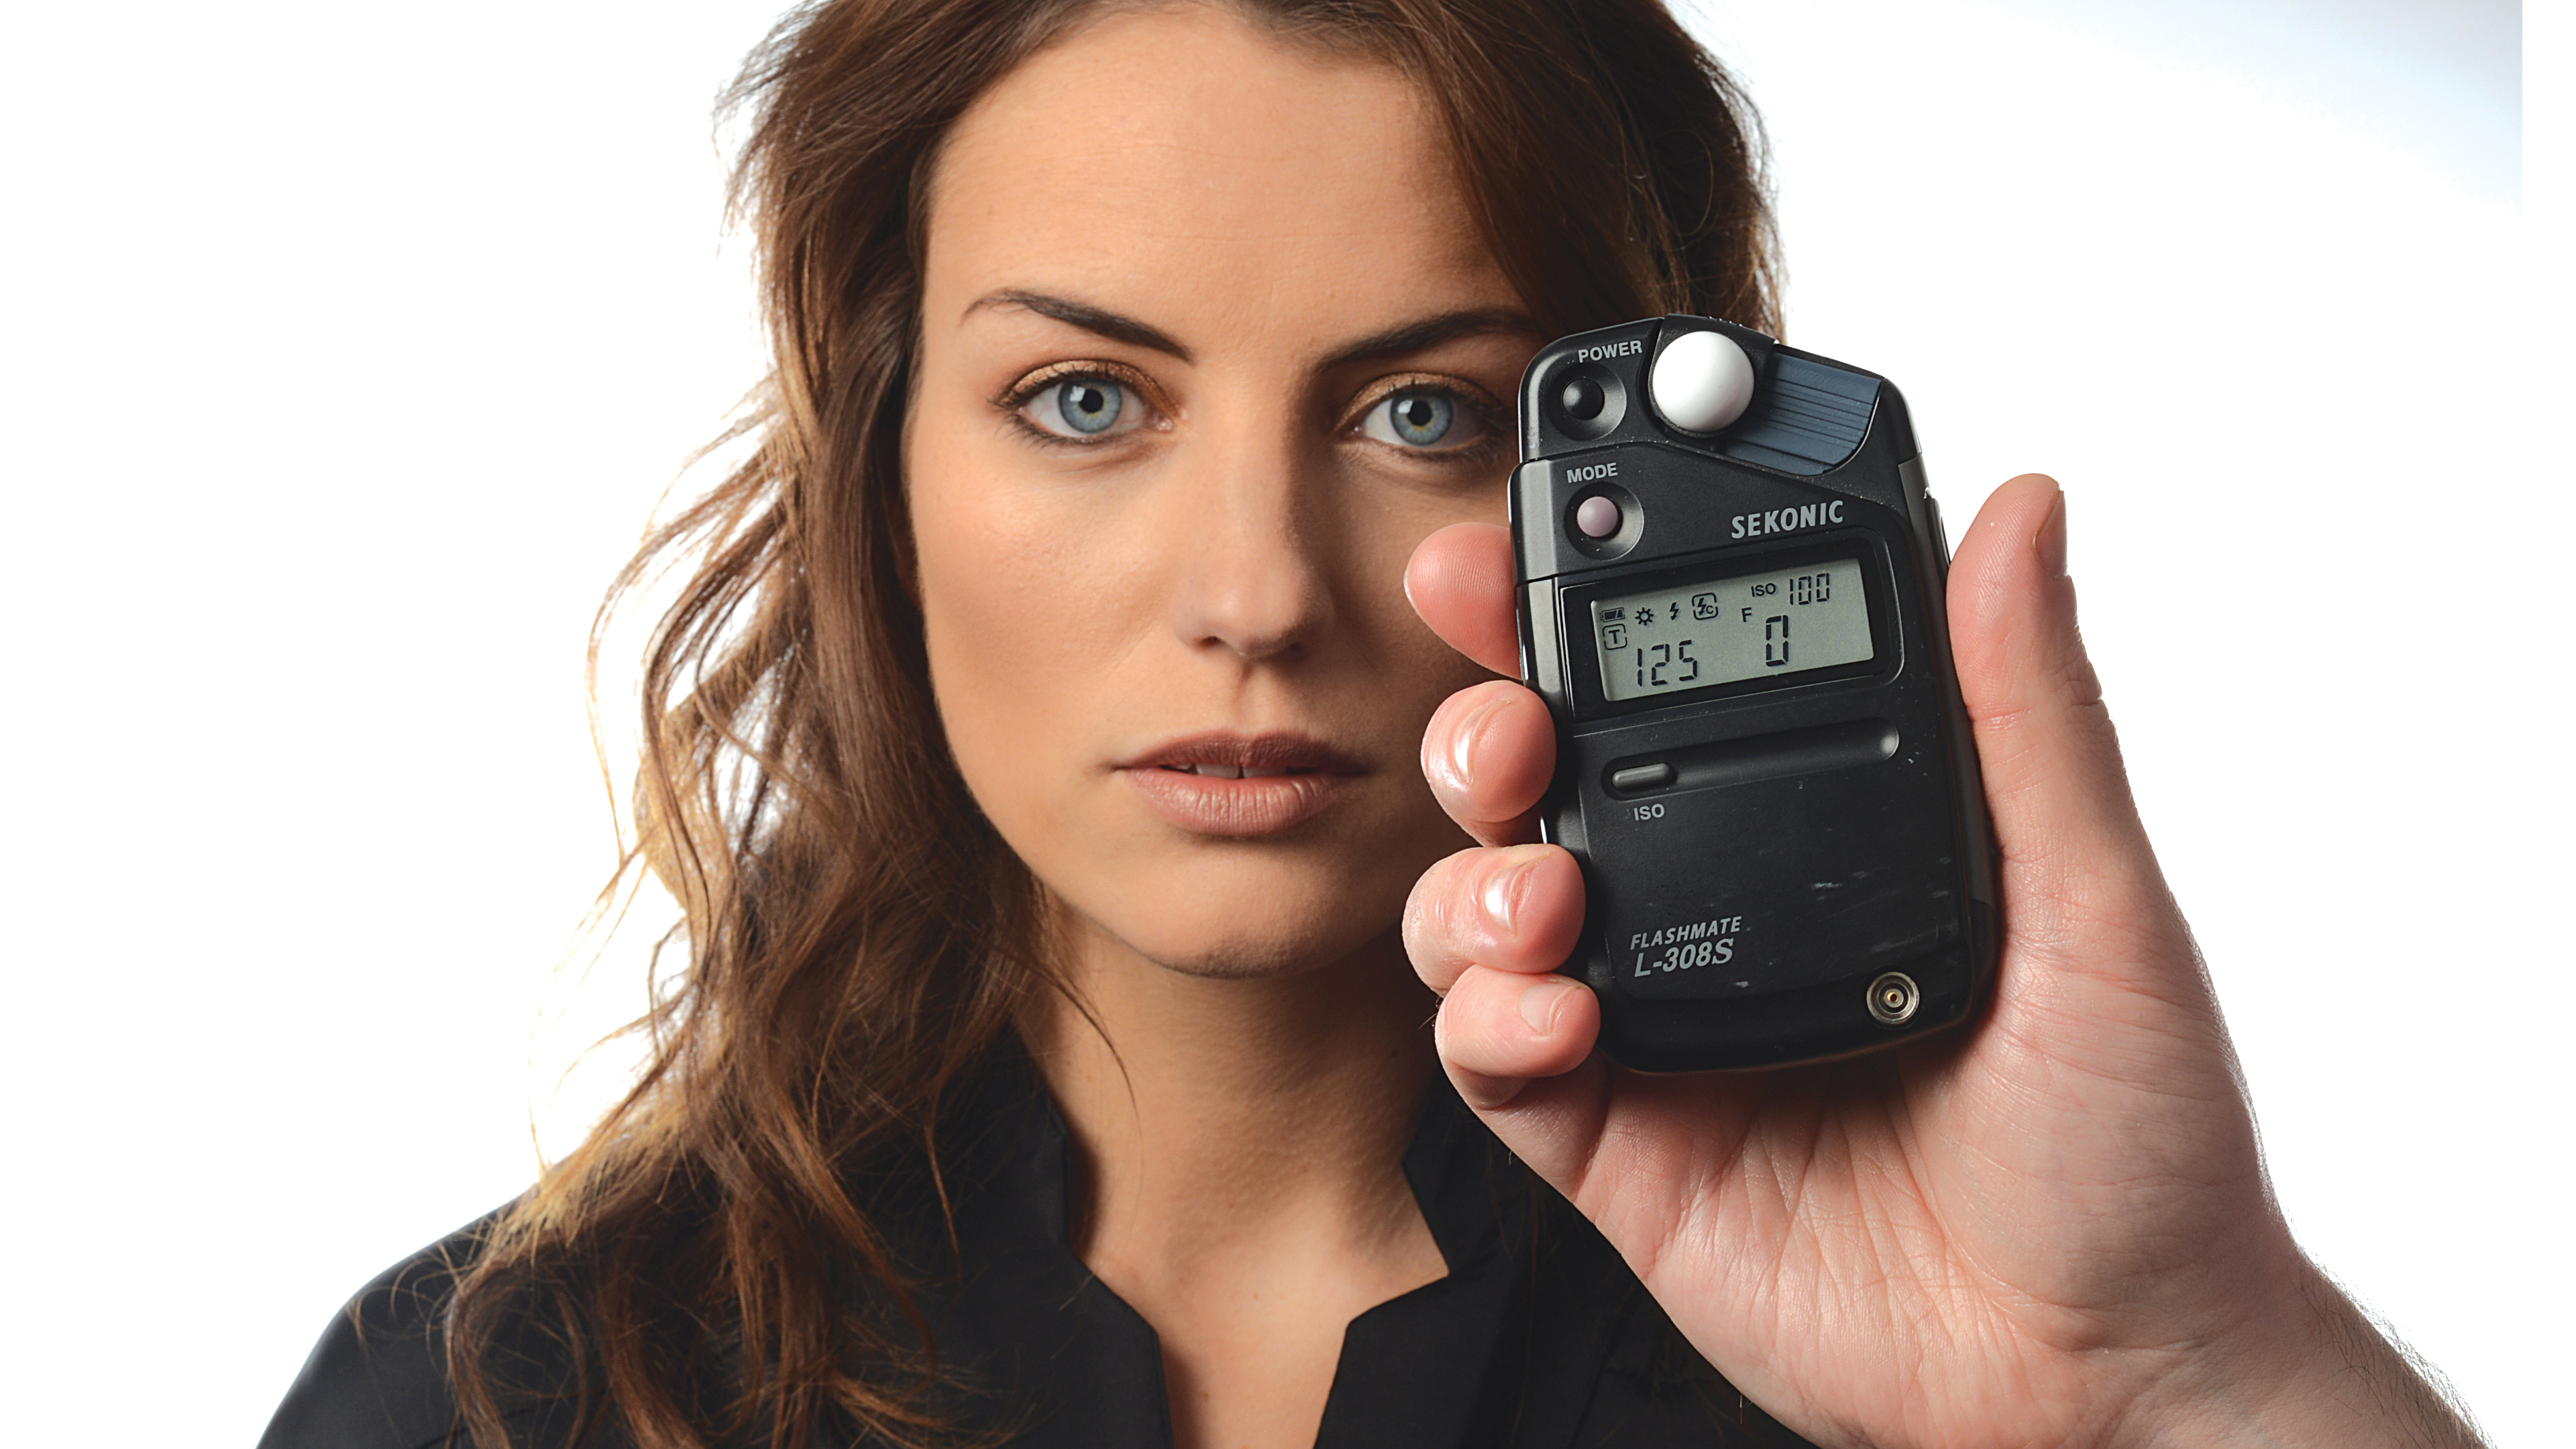 |
| This is an external light meter, but the idea is the same. |

The goal of the light meter EXPOSURE LEVEL MARK is to give you an ide of how much light is going into the camera. If the mark is to the left of the STANDARD EXPOSURE INDEX then you have too little light and the image is underexposed. If the exposure index is to the right then the image will be overexposed.
The goal is to get the exposure level inline with the exposure index. If you do, the image will be properly exposed. To change the settings to get to that point take a look at this:

Knowing this, we can take pictures fully on manual.
ASSIGNMENT
For this assignment, you will take four photos each with different settings. Two will be inside and two will be outside. Paste the picture and fill out the actual shutter speed for your photo.
